Render Your SketchUp Model Without Leaving Your Design
SketchUp is where a large share of architectural geometry lives — not because it is the most powerful tool, but because it is fast to model in and easy to share. The viewport has a clarity that more complex tools often lose, and the camera framing tends to be considered because SketchUp makes repositioning quick enough to do it deliberately.
The missing piece has always been the render. Getting from a SketchUp model to a presentation-quality image traditionally meant exporting to a plugin renderer, setting up lights and materials, and waiting through a render pass that might take minutes or hours depending on the complexity of the scene. For quick client check-ins or early-stage iterations, that cost makes rendering feel like a production step, not a design tool.
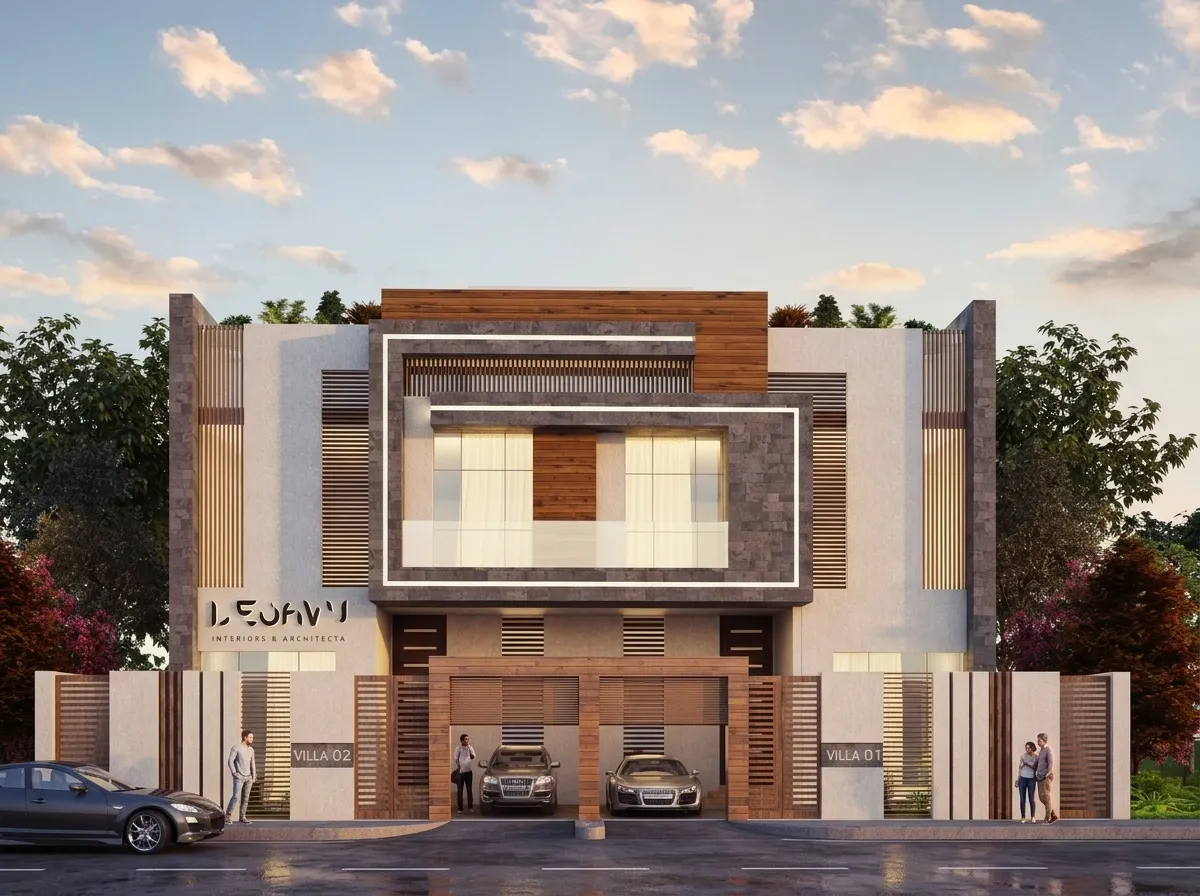
AI rendering changes the calculus. A SketchUp model can produce a presentation-grade image in the time it takes to capture a viewport screenshot.
What to export from SketchUp
The source image does not need to be anything elaborate. A viewport screenshot, captured at a considered angle with the scene set to the style you want the AI to read from, is enough. A few things improve the result:
- Use a monochrome or clay style. The AI reads geometry from surface boundaries and shadow edges. A monochrome face style with edges on gives a clear structural signal without adding color noise that might confuse material reconstruction.
- Enable shadows. Shadow direction tells the AI where the light source is relative to the building. Even a rough shadow gives the model spatial context.
- Commit to the frame. The camera you export is the camera in the render. SketchUp makes it easy to orbit freely, which also makes it easy to export a careless angle. Take a moment to set the scene the way you would want a client to see it.
The SketchUp Scene feature is useful here: save the view as a scene before exporting, so you can return to the exact camera position after iterating.
Framing for a SketchUp render
Camera framing in SketchUp has a direct relationship to how the architecture reads. Some guidelines that hold across most project types:
- Two-point perspective (camera level, no tilt) reads cleanly for facades and elevational studies. SketchUp's "Two Point Perspective" mode eliminates converging verticals without requiring post-processing.
- Eye-level interior shots are usually set between 1.4m and 1.6m. Lower than that starts to read as a floor plan oblique; higher reads as an overhead angle that loses the occupancy feel.
- Exterior context benefits from a slight elevation — enough to show roof geometry if it matters — but not so high that the viewer feels like they are looking at a model rather than a building.
The proportions of the viewport also matter. A 16:9 crop feels contemporary and renders well for presentation decks. A square or portrait crop can work for detail shots or social-format content.
Uploading and directing the render
Once you have the viewport screenshot, the upload step is direct. The AI reads the geometry from the image and uses it as the structural constraint for the output. Your walls, massing, and camera are preserved. What you direct is the interpretation: style, material register, time of day, weather, and atmosphere.
A few controls worth setting deliberately on a SketchUp source:
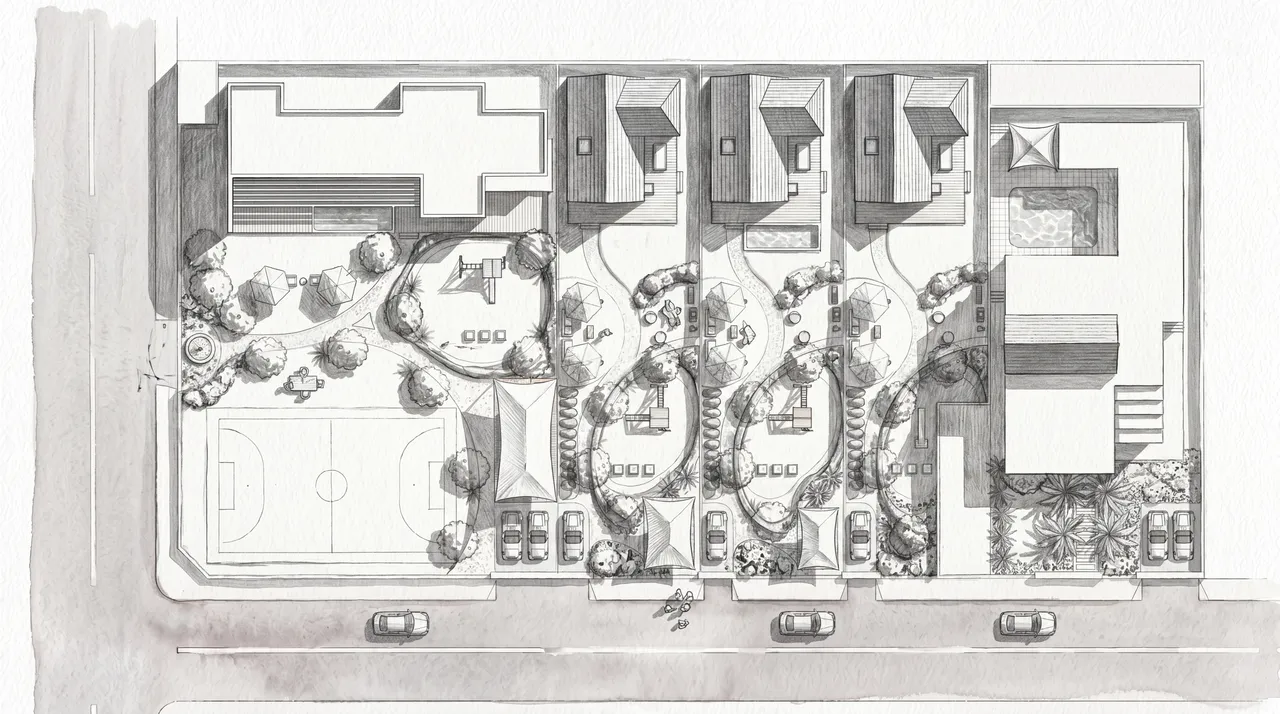
- Style. A photorealistic output shows what the building looks like in real-world light. A watercolor or pencil illustration style can be useful when you want to convey schematic intent rather than a finished proposal — it reads as "this is a design direction," not "this is what we are building."
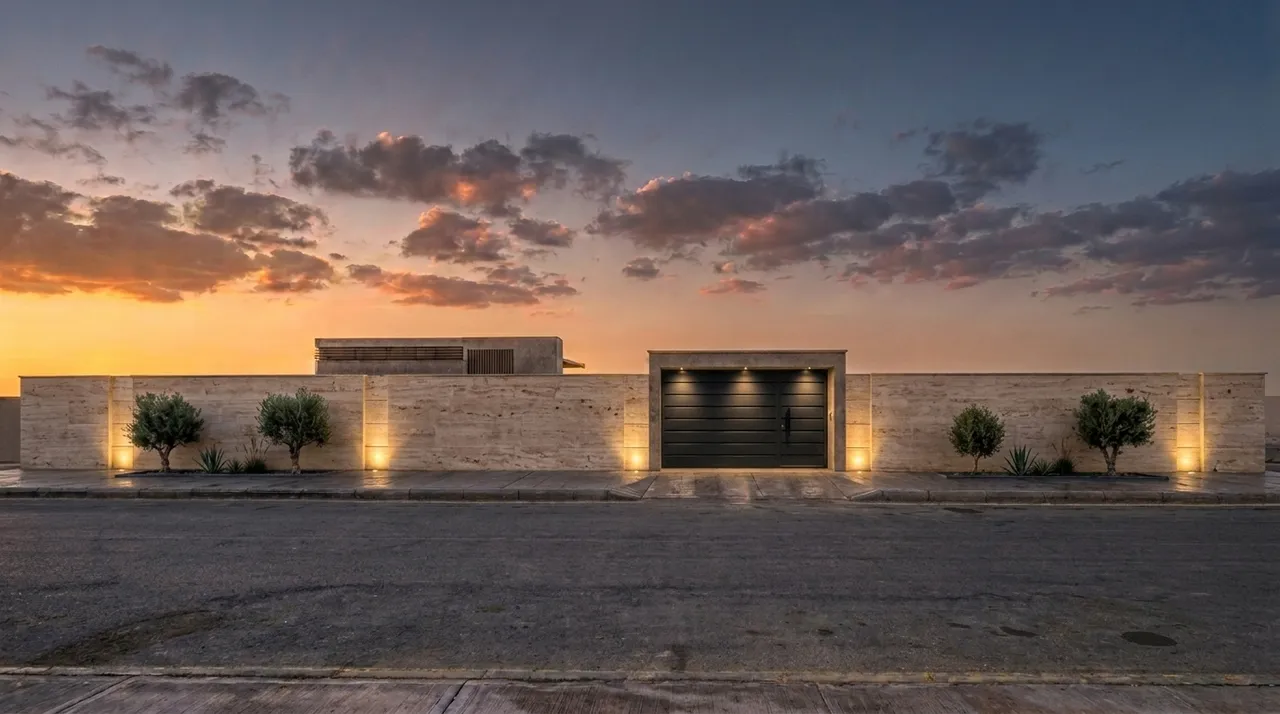
- Time of day. This controls light direction and quality. A morning or late-afternoon setting gives raking light that reads material texture well. Midday light is flatter and often less interesting for architecture. Night or twilight can work for commercial or hospitality projects where artificial light is part of the story.
- Weather and atmosphere. Overcast skies reduce shadow contrast and give a neutral reading of the building. Clear skies push drama. Fog or haze can suggest scale in large-site renders.
For a full breakdown of how to use these controls, see Photorealistic Renders Without Writing Prompts.
Keeping geometry intact
The most important thing to understand about AI rendering from a SketchUp source is that the geometry does not change. Windows stay where you drew them. Roof overhangs remain the length you modeled. The camera perspective does not shift to produce a more flattering composition. What comes back is the building you designed, interpreted in real-world light and materials, not a hallucinated version of a similar building.
This matters for client presentations because you can stand behind the image. When a client asks whether the window proportion is final, the answer is yes — the render shows the model as modeled.
Iterating on mood
Because each render takes seconds, iteration is practical. The typical pattern is:
- Generate a baseline render with Auto settings to confirm the geometry is reading correctly.
- Adjust the time of day to find the light direction that most flatters the design.
- Adjust the weather or atmosphere to match the narrative tone of the project.
- If needed, try different style registers — photorealistic for the client, illustration for a planning submission.
Each pass produces a distinct interpretation of the same building. You end up with a set of images rather than a single render, which gives presentations flexibility.
See From Revit Viewport to Photoreal Render for how the same workflow applies to a different source tool, and consider what each tool's export format tells you about the best approach.
If you want to try this with your own SketchUp files, join the Arqina beta and request access.