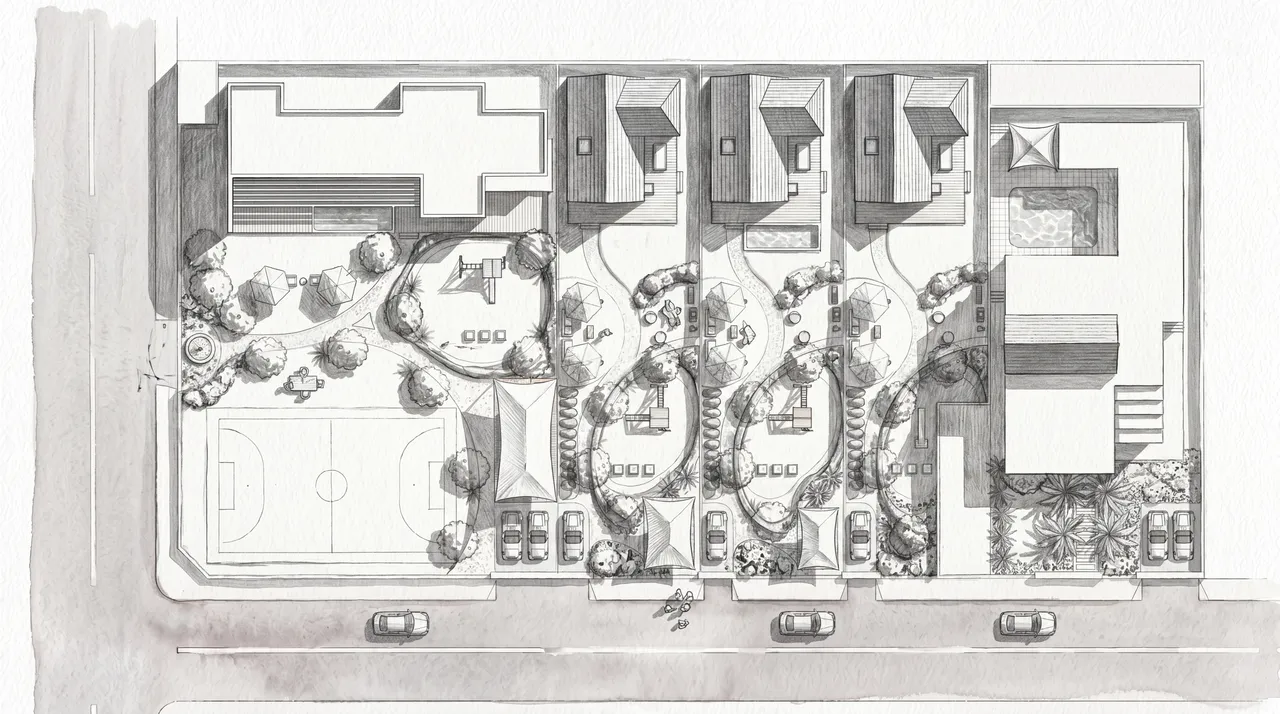
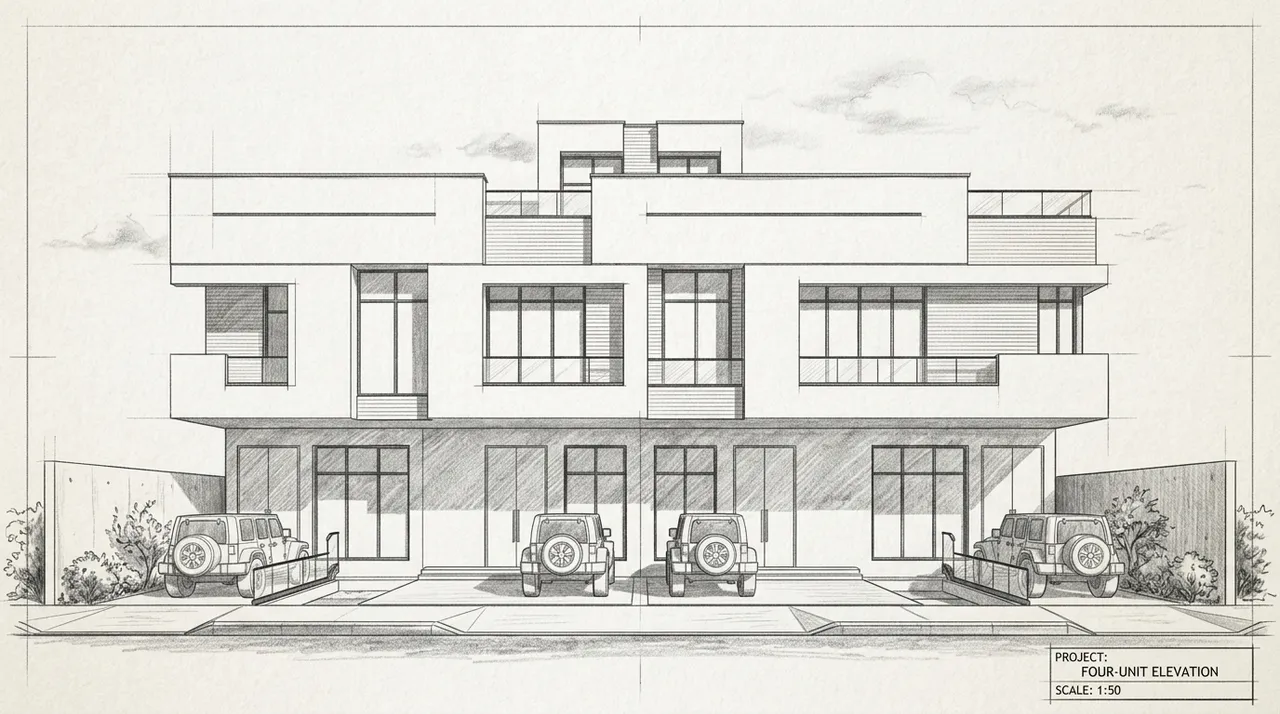
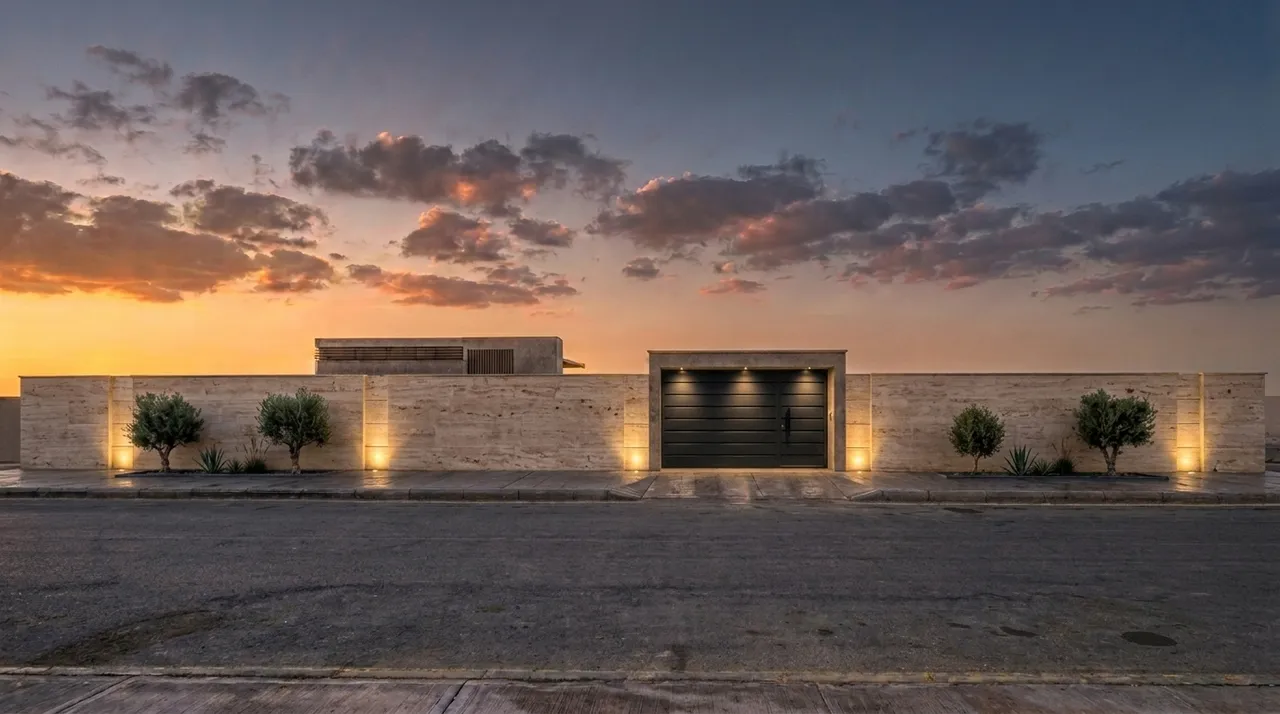
From Revit Viewport to Photoreal Render
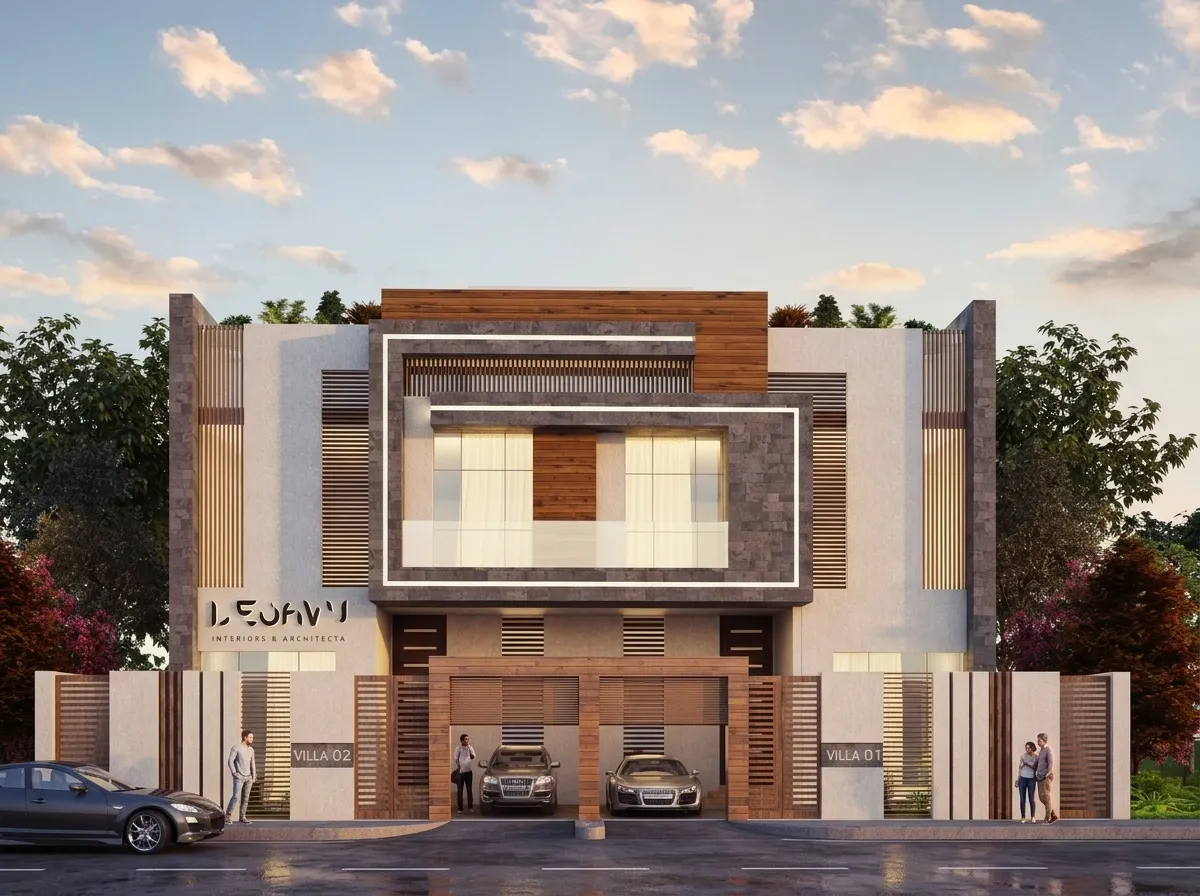
Revit is a model-first tool. The geometry is precise, the relationships are parametric, and every element in the view carries the intent of a considered design decision. The viewport is an accurate representation of the building as designed — often more accurate than a manually set up render scene, because Revit enforces constraints that modeling tools do not.
The challenge is that a Revit viewport does not look like a building. It looks like a technical document. Getting from that to something a client can respond to emotionally has traditionally required either a dedicated render plugin, an export to a separate visualization tool, or a render consultant. Each of those paths has a cost in time, handoff complexity, and loss of fidelity as the model moves through export formats.
AI rendering from a Revit viewport is a different approach: take the view as it is, treat the screenshot as the geometry source, and let the AI handle the material and lighting interpretation.
Capturing the right Revit viewport
A viewport screenshot is enough. You do not need a cloud render, a Revit-native ray trace, or an export to another format. A screenshot of a 3D view set to the right visual style is a sufficient source image.
For best results:
- Use Consistent Colors or Shaded mode. These modes show face normals and basic shadow information without the noise of material textures competing with the AI's own material reconstruction. Hidden Line can also work for a more structural, line-dominated reading.
- Turn on Shadows. Shadow direction anchors the AI's understanding of light position. A view with shadows is significantly more readable than a flat-lit viewport.
- Set a considered camera. Use Revit's camera tool or a saved 3D view to lock the framing. The camera you capture is the camera in the render — the AI does not change the perspective.
- Trim the crop region. Export just the viewport content, not the full Revit window with browser panels visible. A clean export at a reasonable resolution (1920px on the long side is a good target) gives the AI a clear source.
The visual style matters less than the camera position and shadow state. A clean Shaded view with shadows enabled will produce consistent, reliable results.
Why a screenshot is enough
The AI does not need a 3D model file. It reads geometry from surface edges, shadow boundaries, and the structural logic visible in the image. A screenshot preserves that information completely. A Revit viewport at good resolution carries the massing, the opening positions, the wall plane relationships, and the camera perspective — everything the AI needs to hold geometry fixed.
What the screenshot does not carry — exact material specification, lighting rig coordinates, surface finish details — is exactly what the AI reconstructs. The division is clean: you provide the geometry and the camera; the AI provides the interpretation.
Directing materials and light without redrawing
Once uploaded, you direct the render through controls rather than prompts:
- Style sets the visual register. Photorealistic for client presentations, illustration or watercolor for planning submissions or early-stage communication.
- Time of day controls light direction and color temperature. For a facade study, a morning or afternoon sun that rakes across the surface reads material texture better than midday flat light.
- Weather adds atmosphere. A clear day is neutral and versatile. Overcast reduces shadow contrast and often suits institutional or civic projects. A late-sun setting with some cloud can add drama to residential exteriors.
- Format sets the output dimensions. Choose based on where the image will be used — wide for presentation decks, square for digital reports, portrait for planning boards.
See Choosing Lighting, Time of Day, and Weather for Architectural Renders for a detailed look at how these choices affect the narrative of an image.
Review checklist before client
Before presenting a render from a Revit source, run through these checks:
- Geometry matches the model. Compare the render against the viewport side by side. Wall positions, window openings, and roof lines should align. If something looks off, re-examine the source capture and re-run.
- Camera is correct. The perspective in the render should match the captured view. If the vantage seems shifted, check that the viewport was captured at the right crop region without distortion.
- Mood matches the project type. A residential render in harsh midday light may feel clinical. A civic render in warm golden hour may feel too soft. The light choice should reinforce what the project is about.
- No invented geometry. The AI preserves geometry, but confirm that no elements appear in the render that are not in the source image. This is especially important in complex scenes with many overlapping elements.
- The render is presented as illustrative. Renders from Arqina are for conceptual and illustrative purposes. They are not construction documents. Make sure the client understands that the image represents design intent, not a finished specification.
Once these checks pass, the image is ready for presentation. The round-trip from Revit screenshot to client-ready render is measured in seconds, not hours.
To see how the same approach works from a SketchUp source, see Render Your SketchUp Model Without Leaving Your Design. And when you are ready to try it with your own Revit views, request access to the Arqina beta.