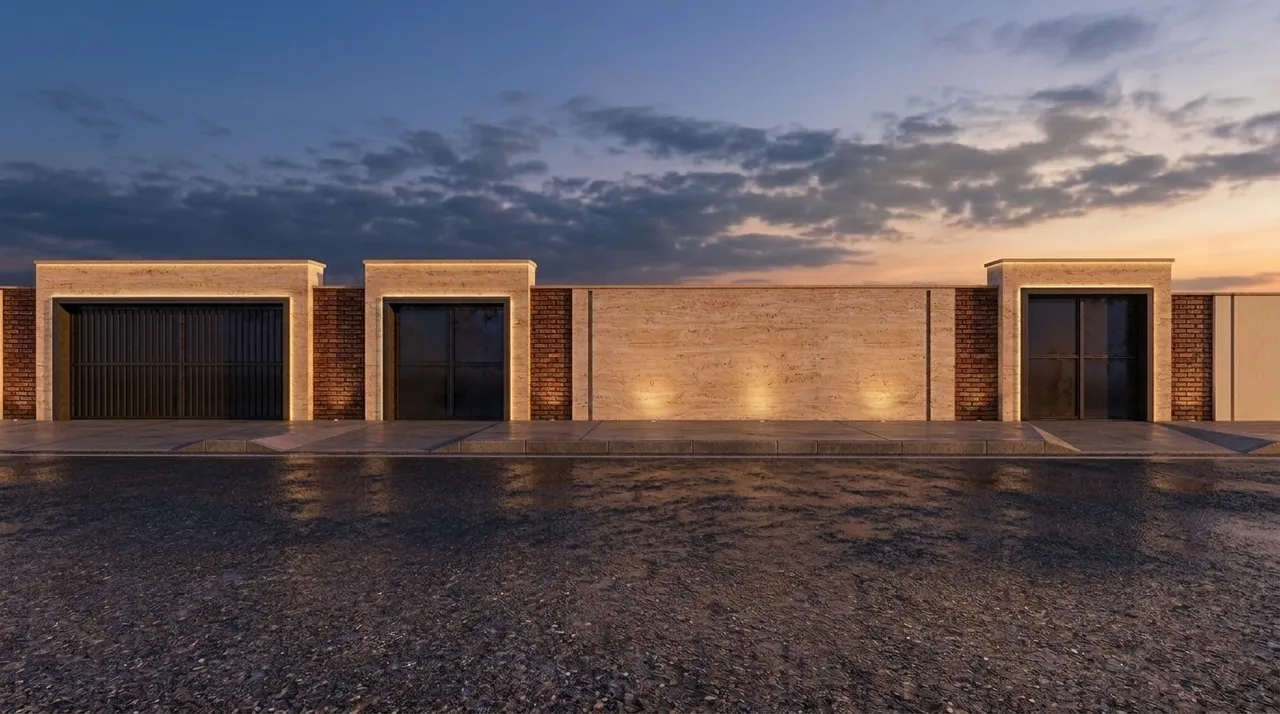
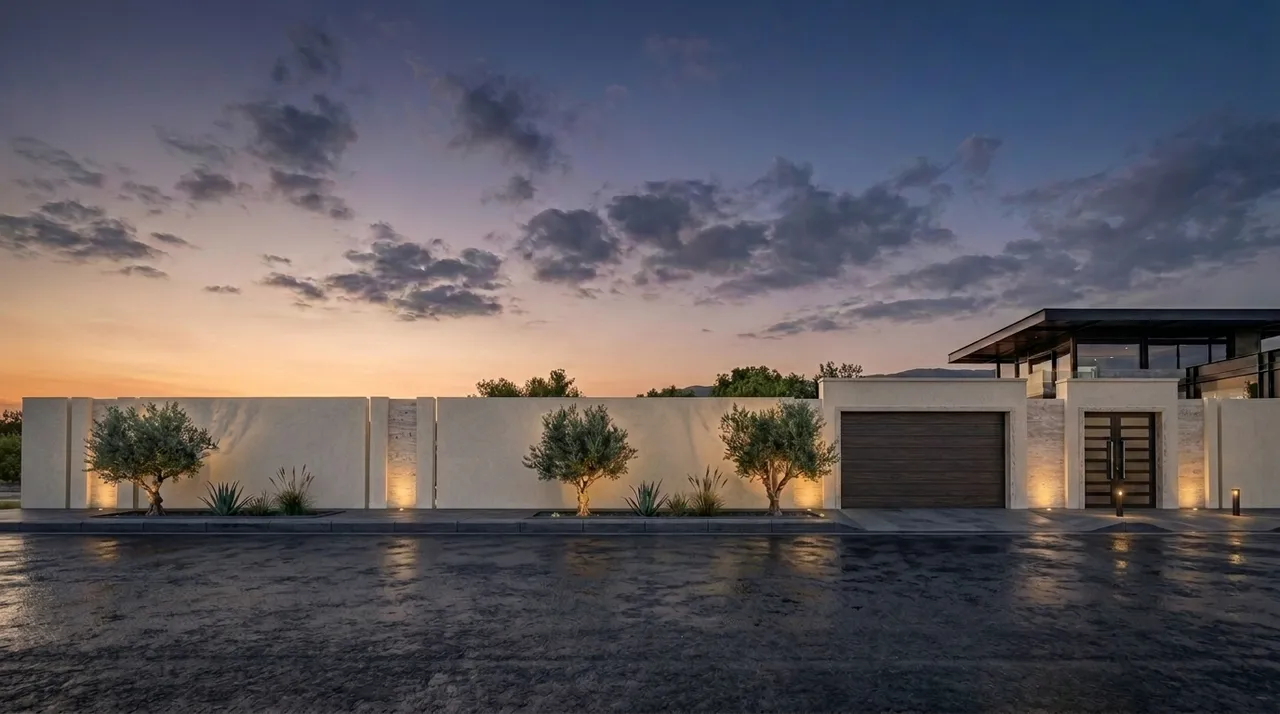
How to Render at the Concept and Massing Stage
Most renders happen too late. By the time a project reaches the visualization stage in a traditional pipeline, the design is locked, the structural engineer has signed off, and the client has approved a scheme. The render exists to sell the decision, not to inform it.
This is not a workflow preference — it is a constraint. Traditional rendering pipelines are too expensive in setup time to use at concept stage. The cost of a render only makes sense when the underlying design is stable enough to justify it.
AI rendering removes that constraint. When a render takes seconds rather than hours, early-stage visualization becomes practical, and that changes what visualization is for.
Why teams skip early renders
The two most common reasons are cost and commitment.
Cost is concrete: setting up a traditional render scene for a massing study that may be discarded the next day is hard to justify. The render would need to be redone when the massing changes, and massing changes often. The economics do not work.
Commitment is subtler. Early in a project, showing a client a highly finished render implies a degree of finality that does not match the actual state of the design. A photorealistic image of a scheme that has not been reviewed by a structural engineer is a misrepresentation of where the project is. So teams avoid renders early, not just because they are expensive, but because the visual register of a finished render is wrong for the stage.
Both of these reasons change when the render is fast and the visual register can be adjusted.
Rendering a massing study
A massing study does not require a finished model. It requires geometry that captures the bulk, the height, the relationship to site, and the approximate opening positions. A rough SketchUp volume, a clay-style export, or even a viewport screenshot from a schematic Revit model is a sufficient source for a massing render.
The key is setting the right expectations for the image:
- Choose an illustration or sketch style. A massing render in a photorealistic style implies more resolution than the design actually has. An illustration style communicates "this is a design direction" rather than "this is what we are building." The image reads accurately for its stage.
- Use the render to test the massing, not to finalize it. Generate several variations with different lighting conditions to see how the massing reads under different circumstances. A massing that looks strong at midday may look flat at golden hour. These are design questions, not rendering questions.
- Keep the source geometry rough. A massing render does not need window reveals, material transitions, or detailed openings. The larger forms — slab edges, setbacks, roof planes — are what matters at this stage. Detailed geometry adds time to modeling without improving the design communication.
Using mood to test ideas, not finalize them
One of the underused applications of early-stage rendering is testing how a design handles different atmospheric conditions. Massing is not just a question of geometry — it is a question of how the geometry reads in context, and context includes light and weather.
A compact massing with deep reveals can look dramatic in raking afternoon light and completely flat in overcast conditions. An open, transparent massing may read well in diffuse overcast light but lose legibility in direct sun. These are design-relevant observations that can only be made when you can see the building in different conditions.
When renders are cheap, you can generate the same massing under five different lighting conditions in the time it would traditionally take to set up a single render. That output is a design tool: it tells you which conditions your massing handles well and which it does not, before any design decision is finalized.
Before detail is added
The practical workflow for concept-stage rendering is tight:
- Capture a clean source. A viewport export from your modeling tool, set to a monochrome or clay style with shadows on, gives the AI the geometry signal it needs.
- Run a quick pass. Use Auto settings initially to confirm the geometry reads correctly. If the massing is ambiguous in the output, the source image may need to be refined.
- Adjust the atmospheric controls. Set the time of day and weather to conditions that you want to test. Generate two or three variants.
- Note design observations. Do not just look at the renders aesthetically. Ask whether the massing is doing what you intended it to do under these conditions.
- Update the model if needed. If the renders reveal a problem with the massing, fix it and re-render. The loop is tight enough to complete within a working session.
This is rendering as design feedback, not as documentation. The output is not a deliverable — it is a question answered about the design.
One structural benefit of early-stage rendering is that it forces clarity about what the design is about at the massing level. Teams that never render until design is complete often discover massing problems late, when they are expensive to fix. Teams that render early surface those problems when the geometry is still fluid. The renders are not permanent. They do not commit the design to anything. They are snapshots of a design state, used to ask whether the state is working.
For small studios and solo practitioners where this iteration might otherwise be a luxury, AI rendering is especially useful. See AI Rendering for Small Studios and Solo Architects for a look at how this fits into a solo workflow.
To see how AI rendering compares to traditional engines at this stage, read AI Rendering vs Traditional Rendering: Which and When.
When you want to bring rendering earlier into your own process, join the Arqina beta and request access.