AI Rendering for Small Studios and Solo Architects
The visualization gap in architecture is not evenly distributed. Large practices have dedicated visualization departments, licensed render engines, and specialists who spend their careers refining the craft of architectural imagery. Small studios and solo architects have the same clients, the same presentation requirements, and often a fraction of the time and budget.
The traditional solution has been to outsource rendering to specialist firms, which is expensive, slow, and introduces a communication overhead between the person who designed the building and the person rendering it. The alternative — learning a render engine and building a personal pipeline — takes months of setup investment that most solo practitioners cannot spare.
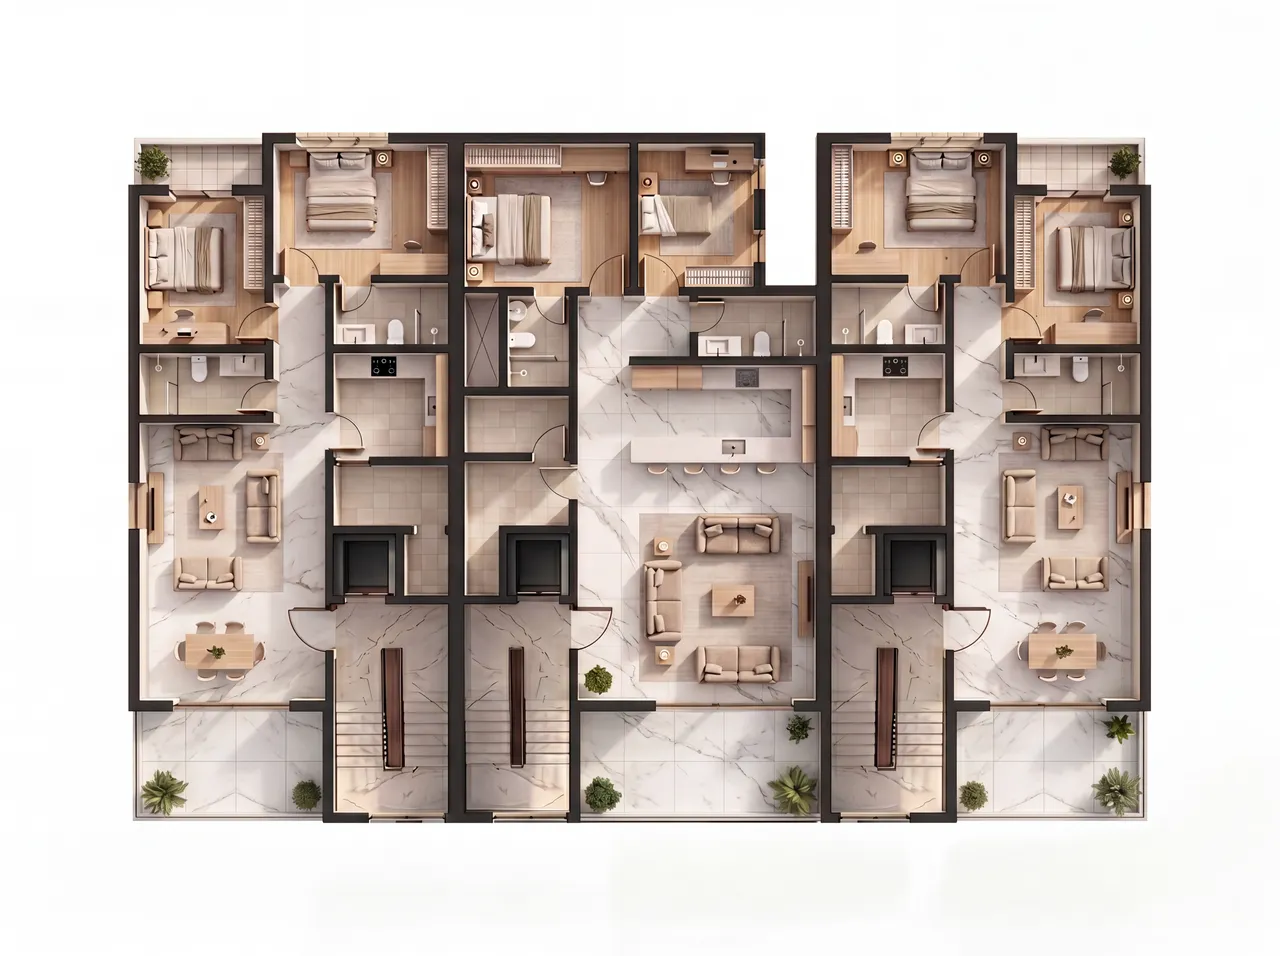
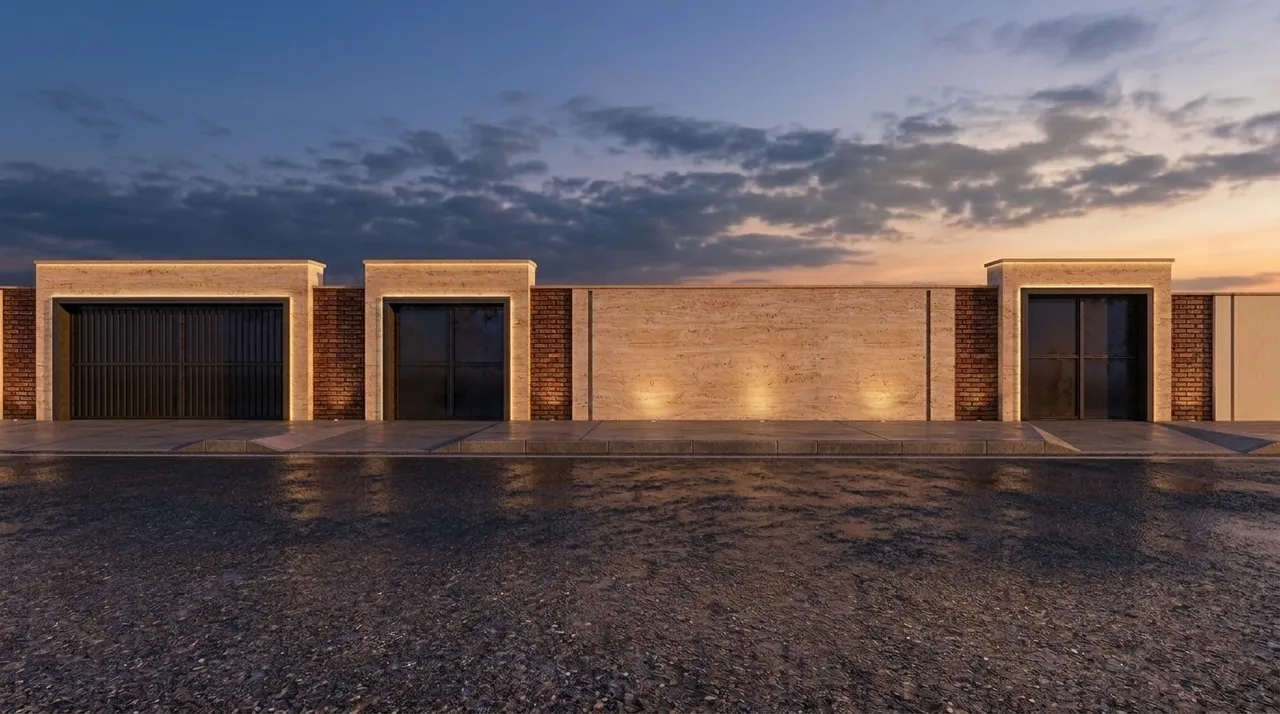
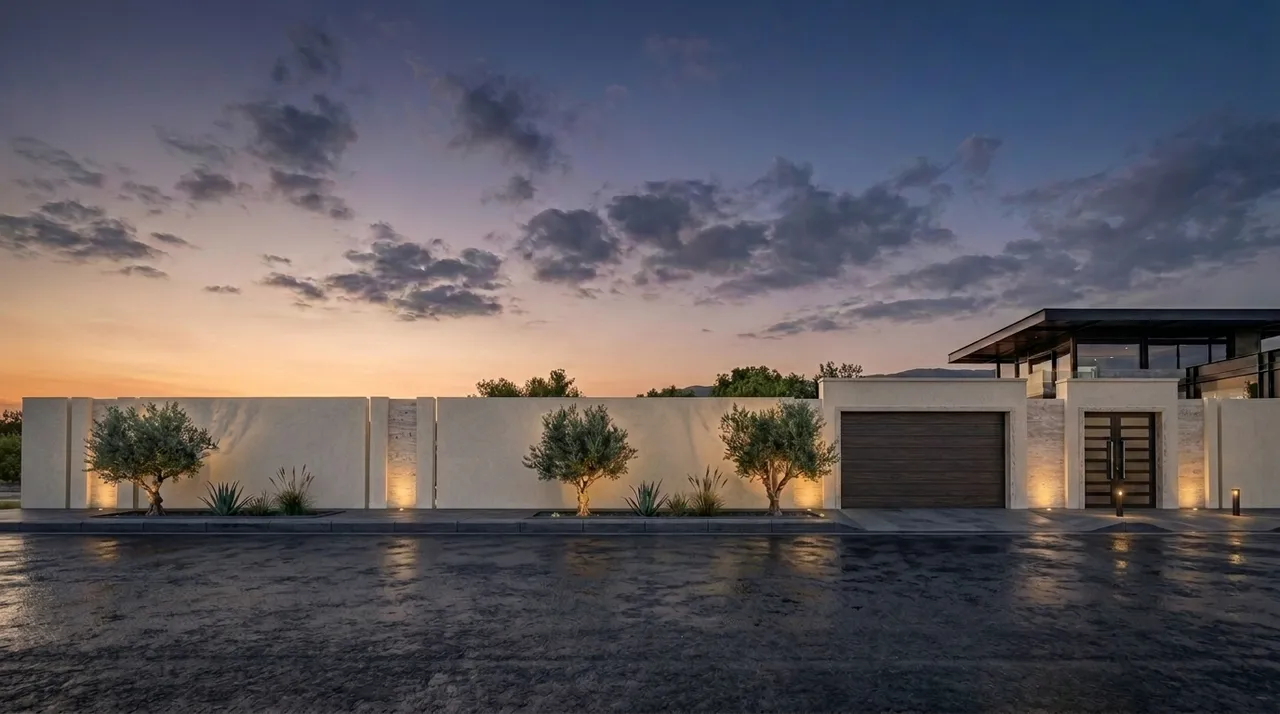
AI rendering is a different kind of solution: it requires no render engine, no materials library, no lighting setup, and no specialist knowledge. You work from the same source images you already produce — viewport screenshots, clay renders, model captures — and direct the output through design controls you already understand.
The visualization gap for small practices
Small practices compete on design quality, not on the polish of their presentation imagery. But presentation imagery is how design quality is communicated to clients, planning authorities, and the public. A scheme that looks outstanding in a well-lit, well-composed render has a better chance of being understood and approved than the same scheme shown as a raw viewport.
The gap is not about the quality of the architecture — it is about the cost of translating the architecture into legible imagery. That cost has historically favored large practices with dedicated resources.
AI rendering does not eliminate the skill in visualization. It removes the infrastructure requirement. You still need to make considered decisions about camera framing, atmospheric mood, and which shots tell the right story at the right stage. What you do not need is a render engine, a materials library, or hours of setup time.
No render department required
A solo architect or small studio workflow with AI rendering looks materially different from a traditional pipeline:
Traditional pipeline:
- Model the building in the primary tool.
- Export geometry to a separate render application.
- Assign materials to all surfaces.
- Set up a lighting rig.
- Position the camera and adjust field of view.
- Run the render (minutes to hours per image).
- Post-process in a compositing tool.
- Deliver to client.
AI rendering workflow:
- Model the building in the primary tool (unchanged).
- Take a viewport screenshot at the desired camera angle.
- Upload the screenshot and set atmospheric controls.
- Review the result in seconds.
- Adjust a control and re-run if needed.
- Deliver to client.
The steps that are eliminated — materials assignment, lighting rig setup, render wait time, post-processing — are precisely the steps that require specialist knowledge to execute well. The steps that remain — modeling, camera selection, atmospheric direction — are already within the architect's existing practice.
Fitting rendering into a solo workflow
The practical question for a solo architect is when to render. The answer, with AI rendering, is: earlier and more often than before.
At concept stage
Early client conversations benefit from a rough render more than from a precise orthographic plan. A massing study with a considered atmosphere communicates the design direction in a way that a plan cannot. When a render takes seconds, it is reasonable to generate one before a meeting rather than bringing a raw model.
See How to Render at the Concept and Massing Stage for a practical guide to early-stage rendering.
At scheme review
When a scheme changes — client feedback, site constraint adjustment, program revision — a fresh render from the updated model confirms that the change has the intended effect. In a traditional pipeline, this would require re-setting up the render scene. In an AI workflow, it means taking a new screenshot and running another pass.
At presentation
Final presentation renders benefit from more deliberate control choices: considering which atmospheric conditions best suit the project, selecting the camera angles that tell the design story most clearly, and ensuring the visual register matches the stage of the project. These are design decisions, and a solo architect is well positioned to make them.
Presenting with confidence
A render from a solo practice does not need to look like it came from a large visualization studio. It needs to communicate the architecture accurately and look considered.
The visual register of the render should match the stage of the project and the audience. At concept, an illustrative style signals that the design is in development. At scheme, a photorealistic pass shows the design as it stands. At planning, a neutral, clear rendering communicates without appearing to oversell.
Because AI rendering uses the geometry and camera from your model directly, the render is accurate to the design. What you can put in front of a client is the building you designed, not an artistic interpretation by a third party. That accuracy is a form of confidence — you can stand behind the image because it shows what you actually proposed.
For a comparison of AI rendering against traditional engines across different practice types, see AI Rendering vs Traditional Rendering: Which and When. And to understand how the controls in Arqina translate design intent into imagery without prompt language, see the full guide to AI architectural rendering.
Small practices and solo architects can join the Arqina beta and request early access.